25 May 2020
Getting a result from a Fragment is almost identical to the startActivityForResult, setResult, and onActivityResult combo.
In the 1.3.0-alpha04 version of the AndroidX Fragment library, Google introduced new APIs that allow passing data between Fragments.
Added support for passing results between two Fragments via new APIs on FragmentManager. This works for hierarchy fragments (parent/child), DialogFragments, and fragments in Navigation and ensures that results are only sent to your Fragment while it is at least STARTED. (b/149787344)
Thanks to the Fragment Result API, FragmentManager gained two new methods:
How to use it?
In FragmentA, set up FragmentResultListener in the onCreate method:
setFragmentResultListener("request_key") { requestKey: String, bundle: Bundle ->
    val result = bundle.getString("your_data_key")
    // do something with the result
}
In FragmentB, add this code to return the result:
val result = Bundle().apply {
    putString("your_data_key", "Hello!")
}
setFragmentResult("request_key", result)
Start FragmentB e.g. by using:
findNavController().navigate(NavGraphDirections.yourActionToFragmentB())
To close / finish FragmentB call:
findNavController().navigateUp()
Now, your FragmentResultListener will be notified, and you will receive your result.
You can use other methods to achieve something similar:
* I’m using fragment-ktx to simplify the code above.
02 Aug 2019
Recently I successfully flashed ACRO firmware into my JJRC H67. It wasn’t easy, but I will show you how you can do it.
To do the whole procedure, you will need:
- ST-LINK V2,
- ST-LINK Utility app,
- and some cables.
Then you go through the steps listed on the RCGroups forum, but instead of BoldClash-BWHOOP-B-03 precompiled firmware, you will use this binary. It is a compiled Silverware by NotFastEnuf with the following config:
#define BWHOOP
#define RX_BAYANG_PROTOCOL_TELEMETRY_AUTOBIND
#define USE_MULTI
// #define ARMING CHAN_5
If you are a Mac user, you are going to do some steps differently. You will need Silverware Tools for macOS since ST-LINK Utility is Windows-only software.
- in step “Erasing the factory firmware” instead of ST-LINK Utility user Unlocker to unlock the chip on your flight controller,
- in step “Flashing a new firmware” use the Flasher app. You just drag and drop your firmware file (e.g.:
h67.hex) into the app’s window.
After this whole procedure, you will be able to bind to your Taranis as I described here.
I also gathered some additional materials you may find useful:
Happy flying!
24 Jul 2019
Configuring Taranis Q X7 with the Multiprotocol TX module is pretty straightforward:
- go to the
MODELSEL setting,
- select an empty row and click
Create model,
- click
PAGE and assign a Model name,
- scroll to the bottom until you find
Internal RF setting,
- set
Mode to OFF,
- go to the
External RF and set Mode to PPM,
Ch. Range set to CH1-12,- go to the
MIXER screen by clicking the PAGE button,
- set
CH1 to 100 Ail,
- set
CH2 to 100 Ele,
- set
CH3 to 100 Thr,
- set
CH4 to 100 Rud,
- now you are ready to go :).
Turn off your Taranis and power on your JJRC drone. Now, hold your sticks in the following positions:
H36
- left stick – bottom-right position
- right stick – bottom-right position
H67
- left stick – bottom position
- right stick – top-right position
and power on your radio. When JJRC binds, it stops blinking.
Happy flying!
29 Mar 2016
As we know, some HTML tags are not supported by the Html class. What can we do about it? Android SDK provides a TagHandler interface that allows us to handle unsupported tags.
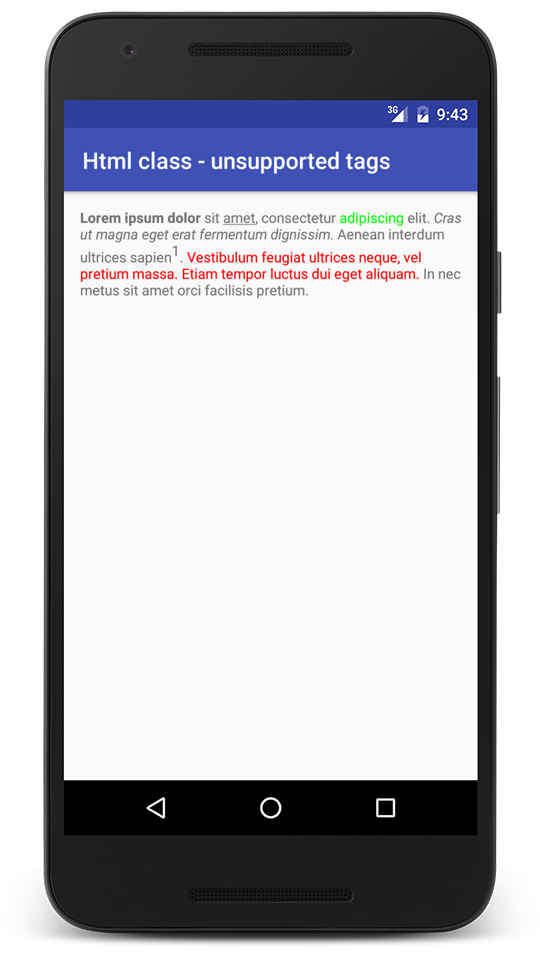
Now let’s add <strike /> tag to our lorem string from the previous post.
<string name="lorem"><![CDATA[<b>Lorem ipsum dolor</b> sit <u>amet</u>, consectetur <font color="green">adipiscing</font> elit. <i>Cras ut magna eget erat fermentum dignissim.</i> Aenean interdum ultrices sapien<sup>1</sup>. <font color="red">Vestibulum feugiat ultrices neque, vel pretium massa. Etiam tempor luctus dui eget aliquam.</font> <strike>In nec metus sit amet orci facilisis pretium.</strike>]]></string>
When we use the fromHtml method with one parameter and run the code, we can see that it doesn’t work as intended.
Because <strike /> is not supported, we have to create TagHandler implementation. As ImageGetter, this interface also has only one method which notifies us when an unsupported tag is found:
public void handleTag(boolean opening, String tag, Editable output, XMLReader xmlReader);
It is the implementation of the TagHandler interface with <strike /> support:
class StrikeTagHandler implements Html.TagHandler {
    @Override
    public void handleTag(boolean opening, String tag, Editable output, XMLReader xmlReader) {
        if (tag.equalsIgnoreCase("strike")) {
            processStrike(opening, output);
        }
    }

    private void processStrike(boolean opening, Editable output) {
        int length = output.length();

        if (opening) {
            startStrike(output, length);
        } else {
            endStrike(output, length);
        }
    }

    private void startStrike(Editable output, int length) {
        output.setSpan(new StrikethroughSpan(), length, length, Spannable.SPAN_MARK_MARK);
    }

    private void endStrike(Editable output, int length) {
        Object obj = getLast(output, StrikethroughSpan.class);
        int where = output.getSpanStart(obj);

        output.removeSpan(obj);

        if (where != length) {
            output.setSpan(new StrikethroughSpan(), where, length, Spannable.SPAN_EXCLUSIVE_EXCLUSIVE);
        }
    }

    private Object getLast(Editable text, Class kind) {
        Object[] objs = text.getSpans(0, text.length(), kind);

        if (objs.length == 0) {
            return null;
        } else {
            for (int i = objs.length; i > 0; i--) {
                if (text.getSpanFlags(objs[i - 1]) == Spannable.SPAN_MARK_MARK) {
                    return objs[i - 1];
                }
            }

            return null;
        }
    }
}
This code is from Android: How to use the Html.TagHandler? StackOverflow question.
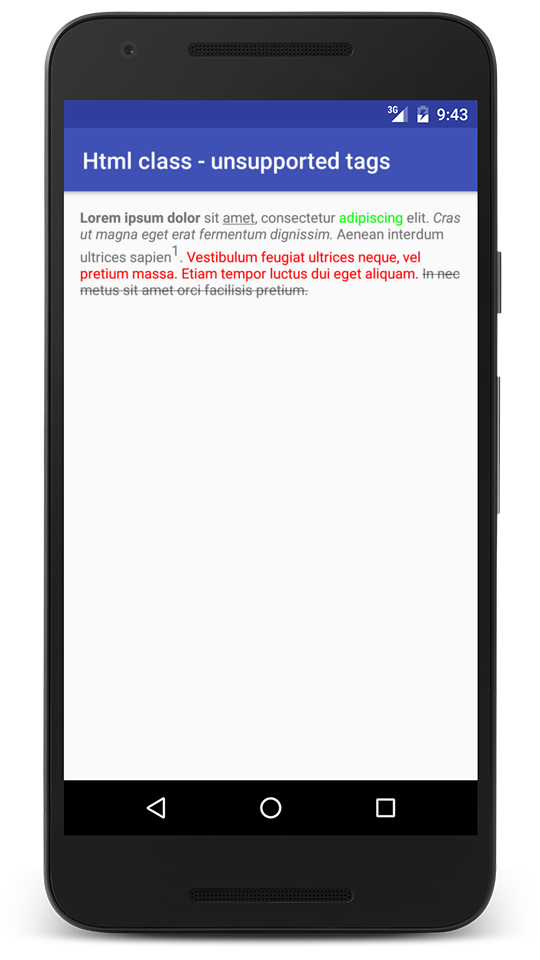
When an unsupported tag is detected, the handleTag method is triggered. We use this signal to start and finish processing this tag.
When the opening parameter is true, we mark a start of a struck-out text by using the setSpan method with Spannable.SPAN_MARK_MARK.
Next, when the end tag is detected (opening is false), we search for the last StrikethroughSpan with Spannable.SPAN_MARK_MARK flag to find start position. Then we use length as our end position.
Finally, we apply StrikethroughSpan by calling:
output.setSpan(new StrikethroughSpan(), where, length, Spannable.SPAN_EXCLUSIVE_EXCLUSIVE);
It is how we use our StrikeTagHandler:
TextView textView = (TextView) findViewById(R.id.lorem);
String string = getString(R.string.lorem);
Spanned spanned = Html.fromHtml(string, null, new StrikeTagHandler());
textView.setText(spanned);
Below we can see the result:
19 Mar 2016
The Html class supports images just like HTML. Let’s see how Html.fromHtml() method handles them. In this blog post, I will show you how to use ImageGetter to display images in the TextView.
First, we need to add <img src="..." /> tag to our HTML string. Next, we see what happens, but we encounter the following problem:
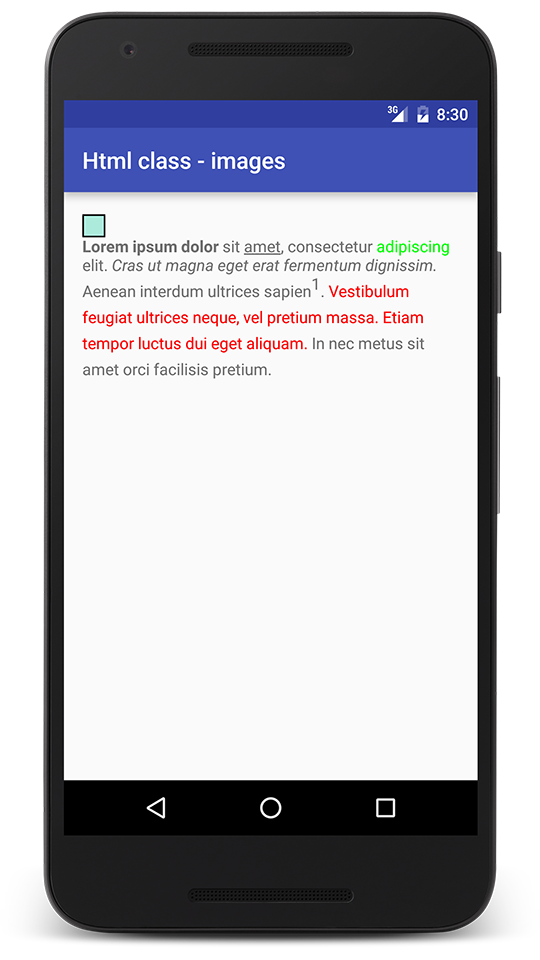
Why was such a square displayed? It’s fromHtml() default behavior, it uses com.android.internal.R.drawable.unknown_image drawable when we don’t pass an ImageGetter object to this method. What is the ImageGetter? It’s an interface with one method getDrawable(String source) which is used by the Html class to retrieve Drawable. We implement this interface when we want to support <img /> tags. source argument is equal to src attribute value. ImageGetter’s getDrawable(String source) is triggered by the Html class everytime it encounters <img /> tag.
Now I will show you an example of how to use the ImageGetter interface and load drawable based on src attribute value.
public class ResourcesImageGetter implements Html.ImageGetter {
    private Context context;

    public ResourcesImageGetter(Context context) {
        this.context = context;
    }

    @Override
    public Drawable getDrawable(String source) {
        String drawableName = source.substring(0, source.lastIndexOf('.'));
        Drawable drawable = getDrawableByName(drawableName);
        if (drawable != null) {
            int width = drawable.getIntrinsicWidth();
            int height = drawable.getIntrinsicHeight();

            drawable.setBounds(0, 0, width, height);
        }

        return drawable;
    }

    private Drawable getDrawableByName(String name) {
        Resources resources = context.getResources();
        String packageName = context.getPackageName();

        final int resourceId = resources.getIdentifier(name, "drawable", packageName);

        return resources.getDrawable(resourceId);
    }
}
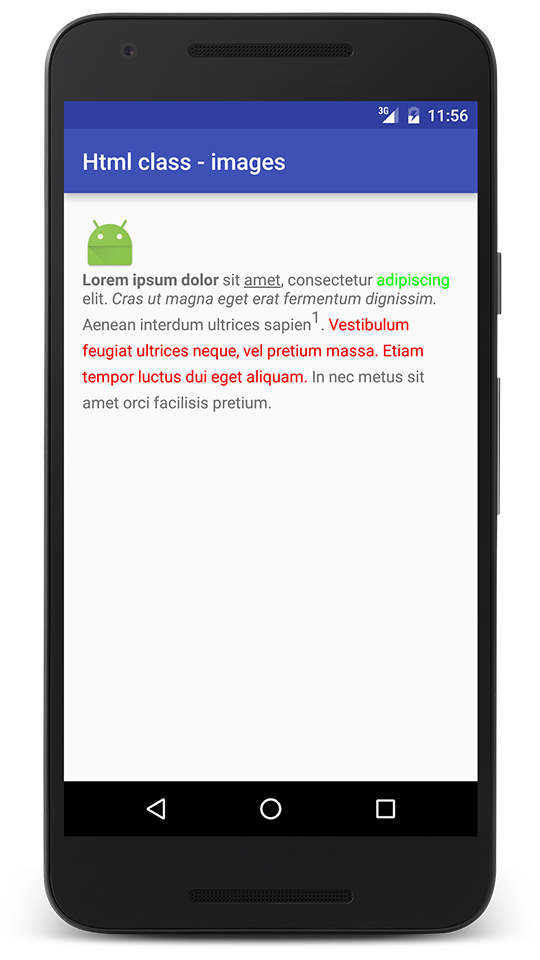
The code is rather obvious. Based on the image name, I’m loading the application Drawable resources (e.g. ic_launcher.png will be replaced by drawable/ic_launcher.png image).
As the documentation says, don’t forget to call setBounds() on the Drawable object:
Make sure you call setBounds() on your Drawable if it doesn’t already have its bounds set.
Below we can see the final result: